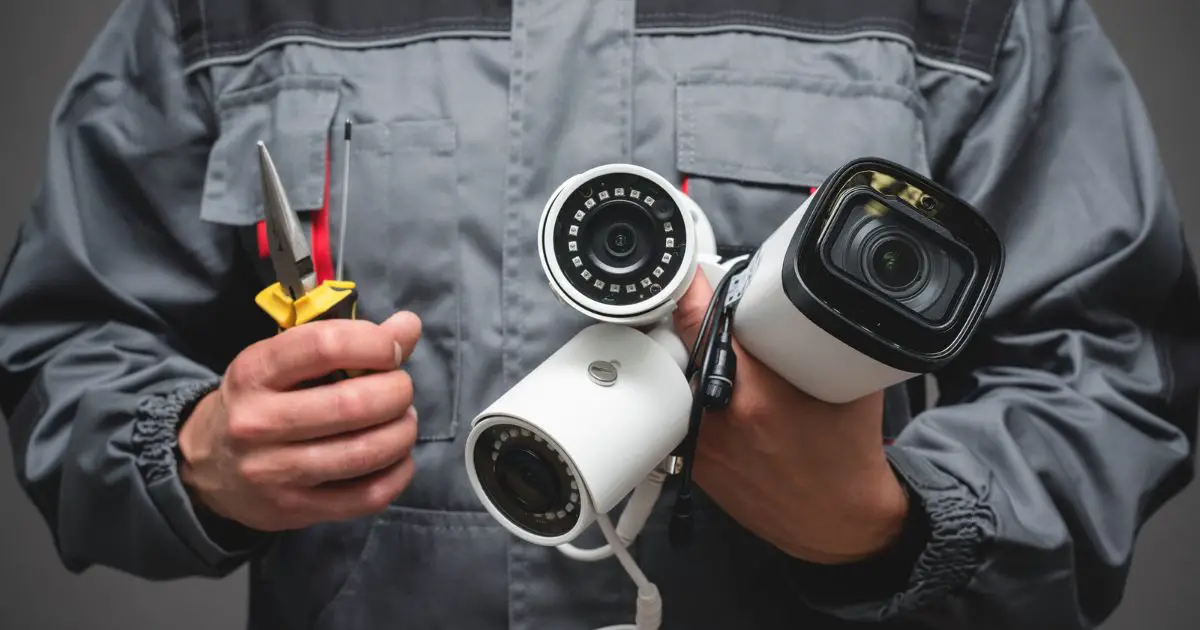
Outdoor security cameras are a win-win solution – they keep you and your family safe plus they’re easy to install. But before you buy, were you wondering how to power outdoor security cameras? Take a look at our informational guide!
What Kind of Security Systems are Available?
Before we get into the mechanics, let’s discuss what equipment you should select. There are a variety of security cameras and safety solutions available on the market. To help you narrow it down, we’ve detailed the three main types below:
Wired Cameras
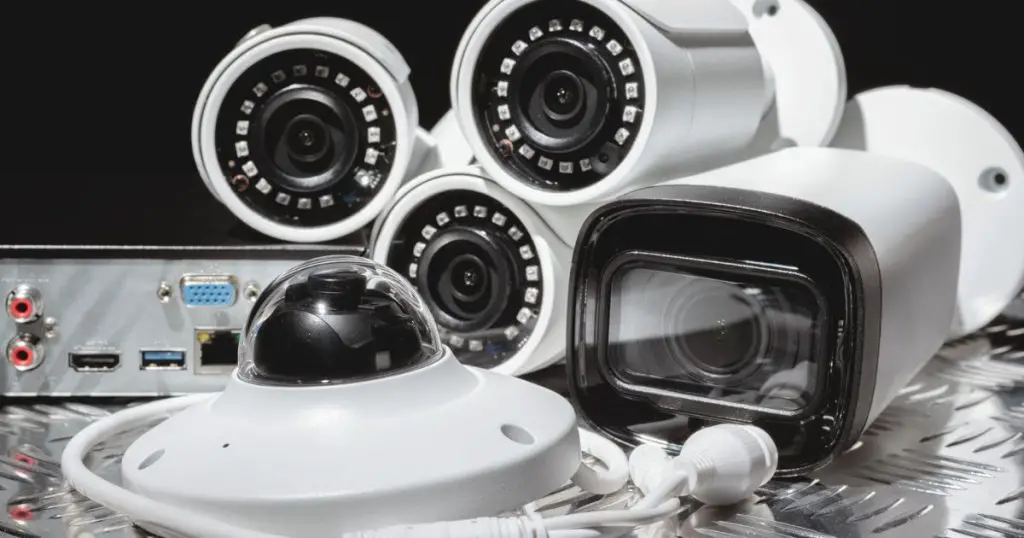
Lauded as one of the most reliable options out there, wired security cameras are perfect for suites and offices.
Pros:
- Video storage is within a DVR unit, no need for a separate drive or cloud.
- Has a consistent power supply and is less likely to disconnect.
- Higher-end options have wires and DVR storage included.
Cons:
- Can only be installed near an outlet, placement is restricted to certain areas.
- Shuts down during a power outage.
- Unless you purchase a higher-end option, wires, and DVR storage are not included.
Wireless Cameras
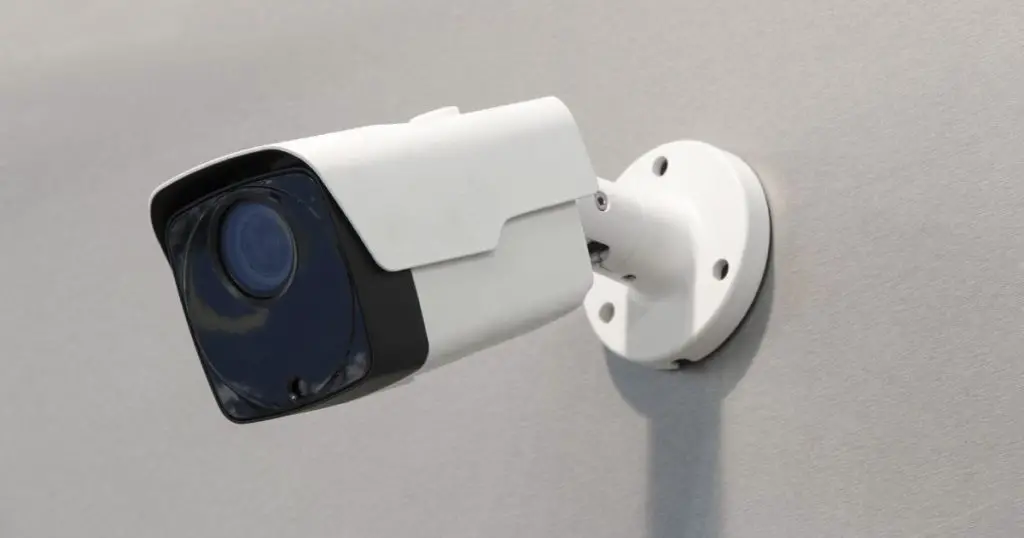
One of the easiest options to install, a wireless or battery-powered security camera is a modern solution for homes and apartments.
Pros:
- Seamless integration, most are so small that they’re nearly invisible.
- Easy installation – it can be placed anywhere as long as there is a reliable WiFi signal.
- Affordable, no extra equipment is involved — just the camera and batteries.
Cons:
- Doesn’t work without WiFi, and installing more than two units can disrupt the signals.
- It only records footage when motion is sensed.
- You might need a Cloud subscription to view the footage.
- You’ll need a battery backup in case one runs out suddenly
Advanced Solutions
You can also find units that offer extra features for safety such as:
- Alarms
Some wireless security cameras are equipped with motion sensors that detect unusual activity. An alarm is then sent to the connected mobile phone or PC via an application or software. Some can even alert the police for you.
- Wide Lens
Cameras with a wide lens can keep an eye on a larger perimeter. This removes the need for extra units — perfect if you want a wireless camera without investing in a higher-power router.
- Night Vision
A priority for outdoor security systems, cameras with night vision monitor strange activity when it’s dark outside. These work well in areas like a garage or backyard. Just make sure it also works in daylight as some night-vision units are unimodal.
How to Power Outdoor Security Cameras
Once you’ve purchased the camera and marked the priority area the main question is how do you get it up and running? Fortunately, it’s a simple process and you don’t need a professional to do it. Here’s a basic rundown of what you need to do:
Step 1: Map the Placement
Get a good look at the place you want to install the camera and create an outline of what you’d like the camera’s field of vision to be. If you’re using a wired camera, mark the power outlets you can use.
As a general rule of thumb, an outdoor security camera should always be placed:
- At least 10 feet above the ground but not too high or else it’ll be difficult to make out the trespassers.
- Away from the direct sun as harsh glares can blur the footage.
- In a corner as that keeps it out of plain sight while maximizing the vantage points.
- In a weatherproof shield so that raindrops, snowfall, or harsh wind don’t disturb the video.
- Next to windows so no reflections hit the lens and fade the footage.
Step 2: Start Drilling
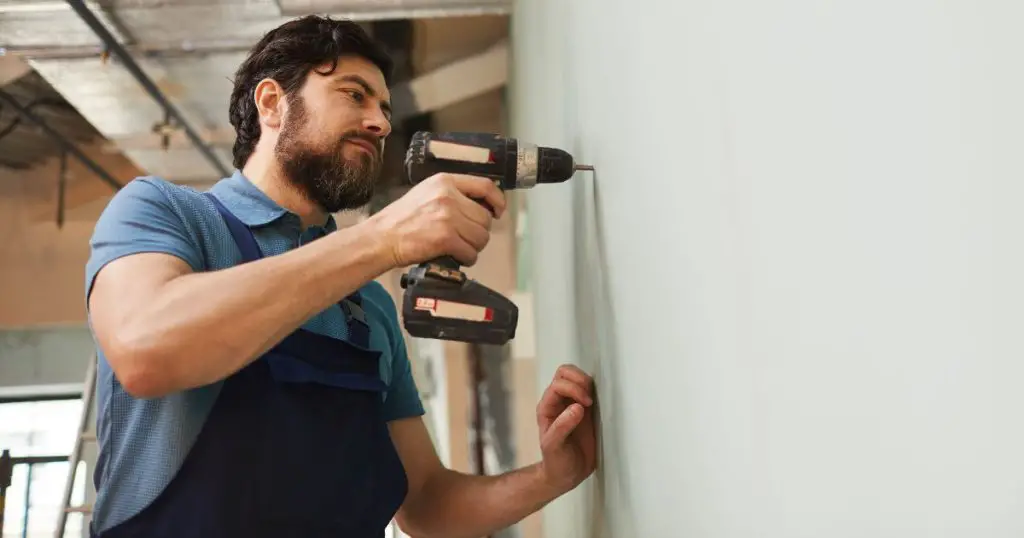
Using the drill template provided, plot the points for drilling. Make sure to use the drill bit suggested so the mounting screws can easily fit in the hole. Start drilling, add the mounting screw, and hammer it in. Hang the camera.
Alternative Solution to Drilling
If you don’t have mounting screws, a drill, or a hammer or you live in a rental, you can still install a security camera easily. Simply order corner mounts along with some command strips.
These can be used over drywall, stone, clay, wood, and even brick which makes them perfect for indoor and outdoor security cams. Just make sure the corner mount you choose can hold up the weight of your camera.
Step 3: Power the Camera
Now that the placement is done and the adhesives are screwed in, it’s time to power the camera. Add batteries to your wireless security cameras or connect the power source to the wired outdoor cameras. It should turn on immediately. If it’s a solar-powered camera, you’ll need to install a solar panel for it to work.
Step 4: Set Up the Mobile Application
Once the camera is mounted, install the respective application on your mobile phone. This is mainly required for wireless cams or smart security lenses. Set up the interface by creating an account and connecting the camera. Now you can easily stream live footage of the perimeter when you’re out.
Step 5: Connect the System to the WiFi
If the battery-operated camera is working but you aren’t getting any footage on the application, it’s probably because the WiFi isn’t connected to the device. Read the instruction manual and add the security unit to your WiFi network.
Step 6: Check the Results
Test the whole unit. Is it integrated well? Was the placement done correctly? Are there any skips in the live stream? The wide lens isn’t spying on your neighbors, is it? Have someone monitor the video footage then adjust the camera angle accordingly.
Different Power Sources for Outdoor Security Cameras
Depending on the type of security camera you have, the power sources may differ. Here are the most common methods opted for:
Power Over Ethernet (PoE)
An innovation of recent times, some IP security cams can now be hardwired using a Power Over Ethernet cable. When a PoE power cord is plugged into the Ethernet port, it powers on the cam using electricity and transfers data when needed. This way, there’s no need for a separate AC power cable! Just make sure the Ethernet port and NVR of the cam are PoE-supported and need less than 30W of power.
AC and DC Power
Although PoE is an awesome electrical power source, installing it can be a little too technical. Instead, you can choose to connect a DC cable to the designated port on the cam. Find a power outlet, join the respective AC adapter and the security lens should work seamlessly.
For high-powered security cameras that require more than 24V power, you’ll need an AC power connection. The adapter is usually provided by the company. To install, connect the adapter to a step-down transformer or simply plug the security cam into a wall outlet.
Rechargeable or Disposable Batteries
For wireless cameras, you’ll need batteries for power and a WiFi connection to watch the perimeters in real-time. If you’re cash-strapped, you could use disposable batteries but you’ll have to keep a close eye on the cam so no footage is lost when the power runs out.
Rechargeable batteries can go a month without needing a refuel. Plus, they last a long while which makes every penny worth the investment.
Solar Power
If you’re looking for a power source that is wireless, free, and doesn’t need to be refueled every month, then solar energy is your perfect pick. Make sure to install the panel in a sunny area so the security unit is always topped up.
Frequently Asked Questions
Do security cameras use a lot of electricity?
No, security cameras do not consume a lot of electricity. To put it into perspective, the safety units need less than a toaster’s power demand to work effectively.
What happens to security cameras when the power goes out?
If it’s a wired unit, the security camera will simply shut down. There won’t be any video footage recorded from the time nor will there be any alerts of motion. However, if it’s a battery or solar-powered safety camera, it’ll continue to work normally.
Is it okay to power an outdoor security cam yourself than to hire an electrician?
Yes, most security cameras are built to be installed by the common man. Unless you’d like to secure a wired camera in an area without a decent power outlet, an electrician or a handyman isn’t necessary.
Final Thoughts
Well, now you know how to power outdoor security cameras in not one but four incredible ways: PoE (clean work), AC/DC power (intense electrical work), batteries (plug-n-play), as well as solar power (easy, no-fuss work). No matter what safety system you choose to install, make sure to wear rubber gloves to protect against power hazards.

