Security systems are a great solution for a safer home. But, they must be installed in just the right way to get the job done (and keep you out of trouble with the law!). The process usually requires a drill and some mounting screws but what if you don’t have them? No worries!
Our guide will walk you through how to mount security camera without screws and provide expert tips for creating a safer home.
Where to Mount the Security System?
After you’ve selected the right security system for yourself, it’s time to map out where exactly you should place it. Here are a few options for where you can mount your security system:
Entryway
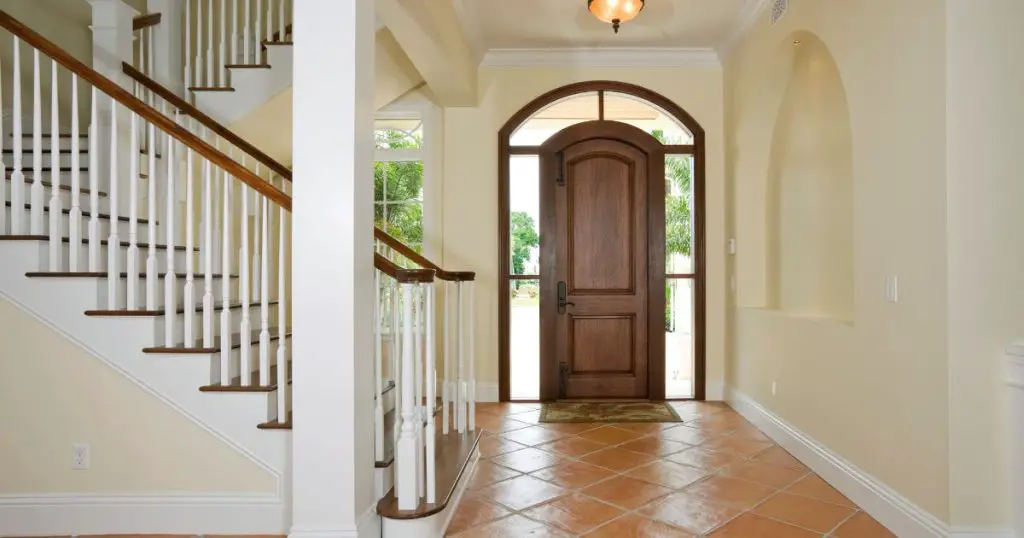
An obvious choice for many, the entryway is the most important area for a security camera. Statistically, 34% of burglaries occur by breaking in the front door. Needless to say, keeping an eye out for your main entrance should be the priority.
Living Room

A decent option for busy parents, installing a security camera in the living room or the dining room keeps a safety check on children and babysitters. Here, you could opt for a wide-lens camera and install it inside near a window for a two-in-one deal. Add in an alarm system and you have a winner!
Garage
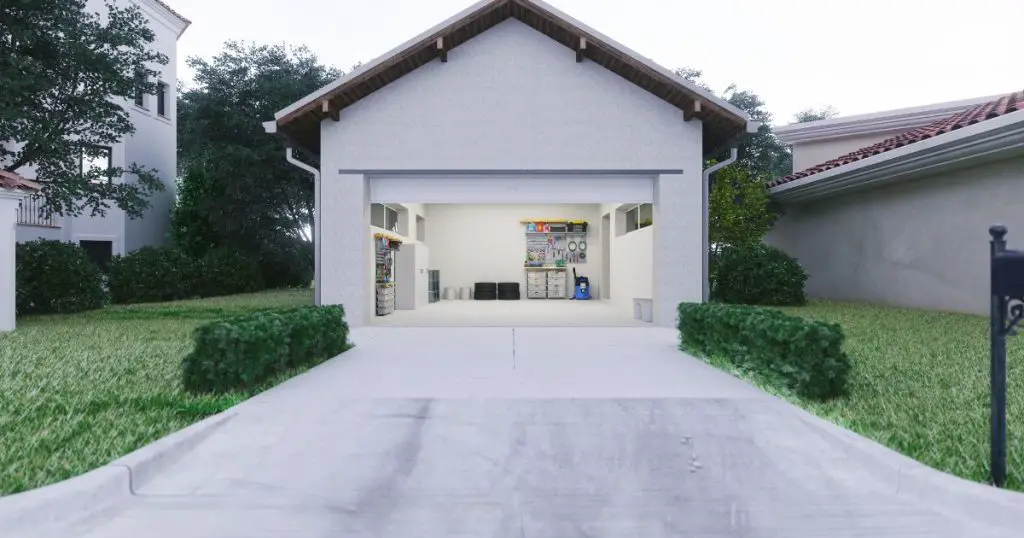
An important area to consider when mounting a security system is driveways and garages because they may not be the first choice for burglars to enter your home, but they are great hideouts. So, if you keep cars parked in your driveway or valuables stored in the garage, we recommend installing a security camera to keep a watchful eye.
How to Mount Security Camera Without Screws
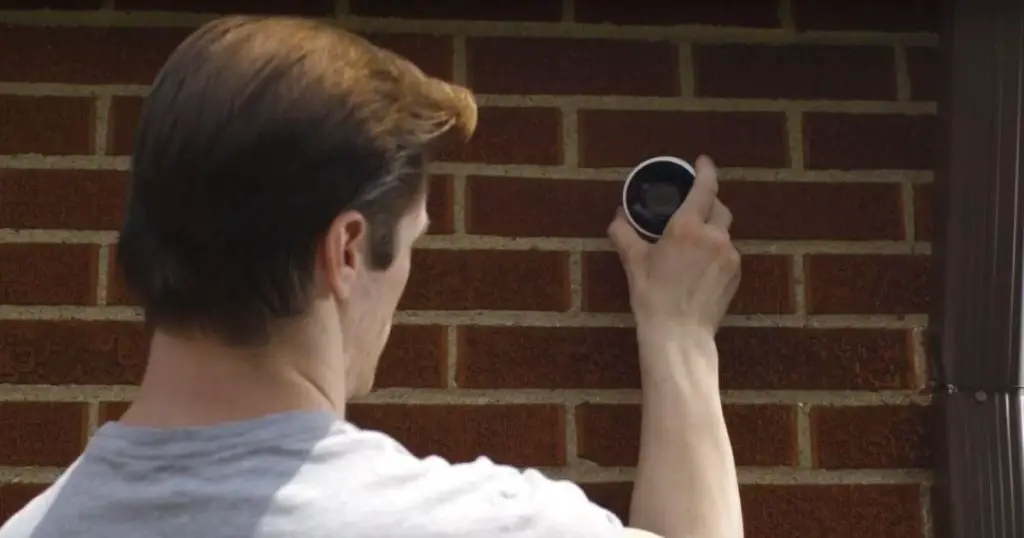
Once you’ve purchased the camera and selected the priority area, the main question is how do you get it up and running? Well, fortunately, it’s a simple process and you wouldn’t need a professional for it — even if you don’t have a drill, screws, or a hammer.
Here’s a basic rundown of what you need to do:
Step 1: Get the Location Right
Mark the place where you’d like to mount the security camera. Here are a couple of things to keep in mind while doing so:
- The place and position should be at a high vantage point — at least 12 feet high
- You should be able to reach it easily when you need to change out batteries, recharge the unit, or repair it
- For wired cameras, ensure the connected power outlet is nearby and reliable
- Make sure the security lens isn’t directly in front of the sun’s glare or the window as reflections can blur the footage
- Be careful of the lighting – most cameras do not record footage in pitch-black darkness unless they have night vision built-in
Step 2: Start Plotting the Screw Points
Once you have the placement mapped out, it’s time to mount the security camera. Take out the provided drill template and mark where the screws should go. Don’t worry, this is just to get the positions right.
When the screw points have been plotted, it’s time to take out the alternative mounts. You could use any one of these below:
Command Strips with Corner Mount
Perfect for beginner DIY-ers, a corner wall mount is one of the most versatile pieces available. They are durable and relatively inexpensive. Plus, they can be attached anywhere — hard clay, brick wall, wood, etc., as long as it is a smooth surface.
All you need to do is get some command strips (adhesive tape) or double-sided mounting tape, place it on the backside of the mount then attach it to the wall. Make sure to factor in how much weight both pieces can handle. If the camera is heavier than its suggested weight limit, you’ll need to screw down the mount for extra security.
Siding Hooks
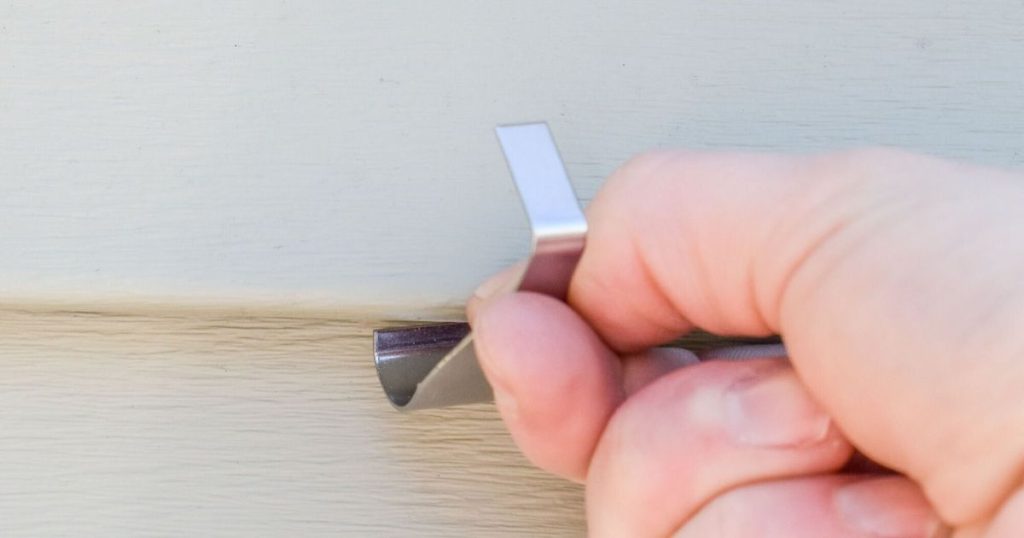
If the exterior of your building is finished with siding or wood materials, you might need to invest in a more seamless option. This is where siding mounts come in.
To get it up on the wall, get two siding hooks and place them underneath the gap of the panel. Once they’re secured in place, screw in the camera mount on the hook then carefully place the camera on the mount.
Gutter Mount Clamps
A great option for high-rise buildings and wide-lens cameras, gutter mount clamps allow a higher mount which keeps it out of reach and out of sight.
Of course, these work best for wireless cameras with rechargeable batteries. But, if there’s a power outlet nearby, you can easily place a gutter mount clamp on a wired camera.
You don’t need extra adhesives or hooks for the installation process. All you need to do is hold it in place and tighten the clamp until it’s secure. Then, add the security camera and enjoy the view.
Step 3: Adjust the Camera
At this point, the security camera mount you used should have a snug and secure grip. Have someone monitor the DVR storage or open up the live stream to observe what the camera is recording. If the field of view isn’t right, adjust it until you’re satisfied.
Step 4: Power the Security Cam
It’s time to get the camera up and running. There are four main power sources for different security lenses:
Disposable/Rechargeable Batteries
Required for wireless cameras, batteries are used to power the unit. Disposable batteries are affordable but run out quite fast. On the contrary, rechargeable batteries are more expensive but they can last over five years with refueling needed every three months.
AC/DC Current
A decent option for wired cameras, AC/DC power is one of the easiest to handle. For small-capacity cameras, take a DC cable and join it with an AC adapter. Plug the unit into a power outlet and the lens will turn on.
For high-capacity security lenses, you’ll likely be given an AC adapter in the box. Read the instruction manual and see if it needs a step-down transformer. Simply connect the unit to a power outlet to power it on.
Power Over Ethernet
A modern alternative method to AC/DC power, you could hardwire an IP security cam using a Power Over Ethernet cable which will instantly transfer electricity and data to the connected units. Make sure the cam is PoE-supported and requires less than 30W of power.
Solar Power
Solar panels are a great power source for security cameras, especially because they are wireless and long-lasting.
Step 5: Test Your Handiwork
Take out the DVR unit or mobile application. Monitor the footage and see if the camera is integrated well. Look for any blurring or skipping in the footage. Make sure the lens is receiving optimum light during the night.
What Not to Do When Mounting Security Cameras
Although security cameras are for safety, it’s a very thin line until they are trespassing. It’s important to ensure they are placed in the right position to keep away from legal troubles.
Here’s what not to do when mounting up the camera:
Steer Clear of Neighboring Areas
If you’re installing a wide-lens camera outdoors or in the yard make sure it isn’t spying on the neighbors or crossing a boundary. Be careful of this because in some states like New York you could be sued over such surveillance.
Avoid Private Spaces Indoors
If you’re adding a camera indoors, make sure the bathrooms and closets aren’t in plain sight or even in the corner of its eye. Every human reserves the right to privacy and impeding on it can land you in serious trouble.
Frequently Asked Questions
Should I get the security system professionally installed?
That isn’t necessary. Unless you’ve chosen a wired camera and have no reliable power connections that may lead to it, you wouldn’t need an electrician to mount the security unit. Yes, installing it on your own may require a drill and a hammer but that isn’t worth spending hundreds of dollars on a handyman.
Is installing a security camera at home legal?
Yes, installing a security camera at home is legal. However, each state has specific laws to protect against trespassing and rules for keeping others people’s security in mind as well. For instance, you cannot add a security camera where privacy is reasonably expected like in locker rooms, or changing stations.
How much is a decent security camera?
That depends on what type of camera you choose as well as the features it comes with. Generally, outdoor security lenses are priced between $50 to $450.
Brief Summary
After reading how to mount security cameras without screws and learning where to place them, all that’s left to do is place an order for your favorite one! Make sure to keep the disclaimers above in mind.

