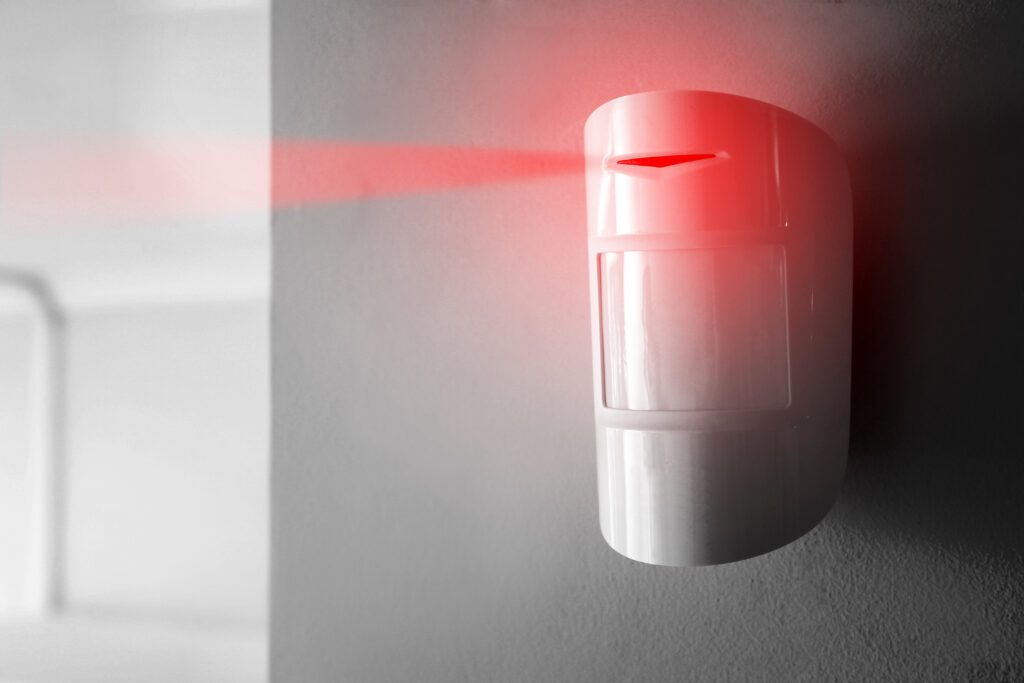
Motion sensor lights are easy to set up, but wiring them to multiple lights might take a bit of know-how; however, it is totally possible. There’s no need to hire a professional, as we’ve got the experts to help show you how. Here is a simple guide to hooking up more than one light to your motion sensor.
- Materials You Will Need
- Before You Start
- How to Wire a Motion Sensor to Multiple Lights
- Step 1: Turn off the power
- Step 2: Remove bulbs and disassemble the fixture
- Step 3: Remove a knockout
- Step 4: Disconnect the wires
- Step 5: Get your motion sensor
- Step 6: Connect the wires
- Step 7: Wrap the wires
- Step 8: Connect the motion sensor
- Step 9: Return the wire connections to the wall box
- Step 10: Reinstall the light bulbs
- Conclusion
Materials You Will Need
Now, it’s time to gather all of the materials that you’ll need to wire multiple lights to your motion sensor.
- Voltage tester
- Electrical tape
- Screwdriver
- Wire strippers or pliers
- Motion detector with a threaded interface
- Wire nuts
Once you have everything on the list above, you’re ready to get started. Now, let’s take a look at the steps you’ll need to follow in order to set up your multiple lights with a motion sensor.
Before You Start
Before you begin with anything, you want to make sure that you’re being as safe as possible. Working with electrical wires can cause a lot of damage if you’re not being safe. Not only can you cause bodily harm to yourself, but you could do a lot of damage to the wiring of your home.
Always make sure that you’re working with dry hands and that you’re not working with live wires.
Before you start working with your fixtures, make sure to turn off all of the power to the bulbs that you’re working with. Secondly, make sure all of the wires you’re working with are in good condition.
How to Wire a Motion Sensor to Multiple Lights
Step 1: Turn off the power
The first step is going to be turning off the power to the lighting circuit that you’re working with. To be extra safe, make sure that you turn the power off at the breaker if you’re able and not just at the switch.
Step 2: Remove bulbs and disassemble the fixture
Remove all of the bulbs from the fixture that you’re going to be using in order to install your motion sensor. Next, you’re going to use your screwdriver to take apart the fixture so that you can reach the wiring underneath.
Utilize your voltage tester in order to make sure that none of the wires are live, that the circuit is off, and that you’re able to touch the wire.
Step 3: Remove a knockout
On the wall box where you will be installing your new motion sensor, remove a knockout. This can be done either by gently tapping it out with a hammer or using a screwdriver.
Step 4: Disconnect the wires
Carefully disconnect the wires that connect the fixture wires to the wires that are coming out of the wall.
Step 5: Get your motion sensor
Grab the motion sensor you’re going to use and take it out of the box. There will be a rubber gasket that comes in the box with the motion sensor. Thread the cables through the gasket as well as the knockout hole. Make sure to leave some space to screw in the motion sensor.

Step 6: Connect the wires
If you don’t have any working knowledge of wiring before this, you might find this step slightly confusing. However, it’s important to get it right. You might be comfortable getting help from someone who has experience working with wiring before.
The motion sensor has three different wires: white, black, and ground wires. The fixture that you’re connecting to the sensor will also have these same color wires to help you connect them together.
Remove about ¾ of an inch of insulation from the ends of the wires in the motion sensor in order to make good connections. There should be black, white, and ground wires coming out of the wall, as well as black, white, and ground wires that lead and connect to the next fixture. Finally, there should be a pair of black, white, and ground wires that come from the motion sensor, as well as the fixture that you removed the bulbs from.
Connect the black wire from the wall to the black wire from the motion sensor.
Then connect the white wire from the wall to the white wire from the motion sensor.
Connect the white wire leading to the next fixture to the white wire on the fixture you removed the bulbs from.
Now connect the ground wires together in the same way.
Step 7: Wrap the wires
Once you have the wires connected together, wrap them tightly with electrical tape where you made the connection.
Step 8: Connect the motion sensor
Once you have all the fixture wires connected, look for the red wire that comes from the motion sensor. Connect this red wire to the black wire coming from the fixture that you removed the bulbs from as well as the black wire that leads to the next fixture. Secure these wires with electrical tape.
Step 9: Return the wire connections to the wall box
Clean up your work area by carefully returning the wire connections back in the wall box.
Step 10: Reinstall the light bulbs
Before you turn the circuit back on, reinstall the bulbs into the fixture. Once you turn the circuit back on, you can now test your new motion sensor. Turn the light switch on and observe the bulbs. If everything went right, the lights should stay on for a few seconds before automatically turning off.
Conclusion
Working with wires can be daunting for a new do-it-yourself handyperson, but once you know what you’re doing, you’ll feel much more confident with other electrical chores around the house. Make sure that you’re always operating in a safe manner around wires, as accidents can cause a lot of damage both to your body and your home.
If you’re entirely new to working with electrical wires, it might be better if you make sure you have someone else around who knows about wiring in order to supervise your work. However, these 10 easy steps should be able to help you put together a motion sensor system that works with multiple lights.

