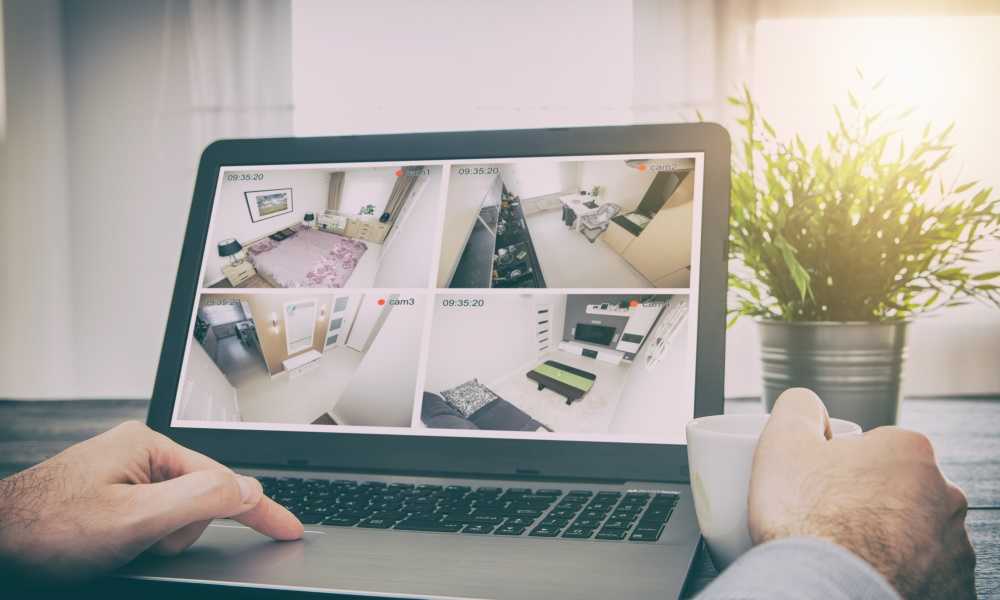
One of the main benefits of having security cameras at home is the ability to monitor them remotely and see if there is any unwanted activity in your house. It also allows you to create remote backups and save your footage, if necessary. However, many security cameras do not come with internet access that is easy to set up and configure, and you may have to do it yourself.
This easy guide will help you connect a CCTV DVR to your internet connection, so that you can access your camera footage from anywhere.

To Connect Your CCTV DVR to The Internet
You will need:
A router that is connected to the internet and has LAN inputs and WAN outputs
Some older, simple modems do not have ports for multiple devices; make sure that your router has the necessary inputs and outputs.
A DVR capable of exporting data
Not all DVRs have the necessary ports to connect to a router and send data to the internet, so check yours and make sure that it does.
CAT5 cable
Chances are, you have some spare CAT5 cable around, but it may not be long enough to connect your DVR and your router. Make sure you have plenty of cable for the placement of your devices.
You will also need the admin username and password of your DVR and your home network
For these instructions, we will assume that your CCTV cameras are already connected to your DVR and working properly. We will also assume that your DVR is connected to your television, or some other monitor, so that you can see and change settings on the DVR. You may only need this capability temporarily, as you configure your CCTV system, but you will need to connect your DVR to a monitor of some kind.
To Connect Your CCTV DVR to Your Router
- The first thing you need to do is connect your DVR to one of the data ports on your router using an ethernet/CAT5 cable.
- Then navigate to your DVRs network settings. Find the IP address that your DVR is currently using, and note the IP mode. Chances are that the current IP mode is static. We want to change that, because we want to manually change the IP address.
- Change the IP mode to DHCP. Refresh the menu and note the new IP address that has been assigned to the DVR.
- Write down this new IP address.
- Change the IP mode from DHCP to Static IP, to prevent this new address from changing.
- Now change the HTTP port. Chances are, the current HTTP port is :80, but that is a default setting used by many devices. By changing it, we set a unique port just for the DVR, so that no other devices interfere. You can change the 80 to 88, 89, or 91-99; it doesn’t matter as long as it’s a unique number not being used.
- Once you have created a new, static IP address and a unique port for your DVR, you can log out of the DVR and begin working on your network settings.

To Connect Your DVR to the Internet
- Next, log in to your router settings by navigating a web browser to http://192.168.2.1.
- Select virtual servers from your setup menu.
- Identify your DVR from the list of connected devices (it is helpful to rename it “DVR” or some other easily identifiable name).
- Fill in the local IP address on the router settings with the same IP address you wrote down from the DVR.
- Fill in the port number with the port number you assigned.
- Save all your settings.
To Test Your Port Forwarding
Using a web browser, navigate to the IP address of your DVR. This is done by typing http://[+the IP address of your DVR]:[the port number you assigned]
You should get a screen that asks for you to login, but the default username and password are both “admin.” Once you have logged in, you will be viewing and accessing your DVR from a web browser. You should immediately change the username and password.
Connecting your CCTV DVR to the internet isn’t very difficult, provided you follow these instructions, and it allows you to view your CCTV cameras from anywhere with a web connection. It’s a great way to remotely monitor or manage your system, and also to create secure, offsite backups of your camera footage. It may seem a little complicated at first, but following these step-by-step instructions will have you online in no time.

